

Gid’day all,
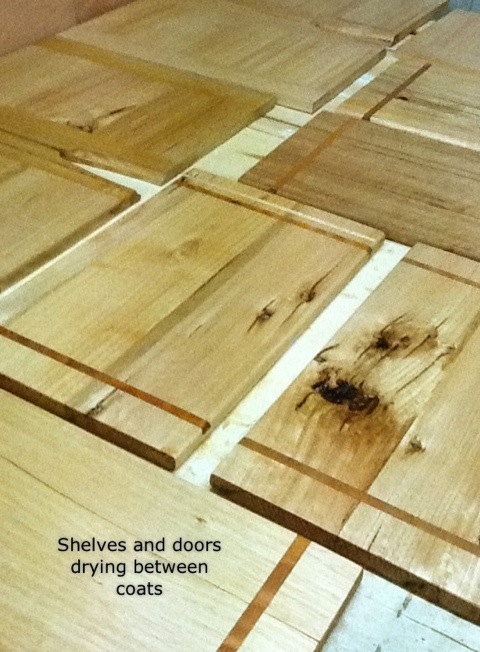
Having completed the construction of the shelves and doors for wall unit that I’m building I was faced with the question of how I was going to finish them. From previous articles you’ll know that I’m not a fan of varnishes and lacquers and that I love natural wax or oil finishes. My first thought was to go for a hard burnished wax finish as I detailed in the Rotex article, but the thought of having to apply 4 coats of wax on 12 shelves and 6 doors was a bit daunting and would add another couple of weeks to a project which was already behind schedule.
For quality of finish and speed of application I decided to go for a tung oil finish. Now from experience I’ve found that there is quite a lot of variations of usability between the different brands of tung oil out there. I’ve tried a number of them an found that Haymes tung oil gives me the best, most consistent and repeatable result for the way that I work. When dry the tung oil gives a low sheen finish which is easy to care for and really brings out the character of recycled timbers.
In this article we’re going to use what I call a “dry” oil finish, as we’ll let the oil surfaces dry completely before sanding them. A “wet” oil finish is where the oil is worked into the surface with a sander at low speed whilst still wet.
I would recommend the dry method with the Haymes tung oil due to the high polymer content in the oil. If you’re wet sanding with this oil it can become very sticky, very quickly which will completely bugger up the finish your trying to achieve.
The “wet” oil technique is best left for natural or wax rich oils such as the oils in the new Festool surfix oiling system which will be covered in an upcoming article
The first stage in finishing was to sand the doors and shelves to 1200 grit. I find that when applying oil finishes such as the Haynes tung oil, which are particularly rich in polymers, the finer the surface you have to begin with, the easier the finish will be to apply, and the better the end result will be.
I sanded all the timber surfaces and edges with my Ets 150 sander. I used a Festool sander for this project because I have one, but you can achieve the same result with almost any variable speed random orbit sander.
Begin at 80 grit then move to 120, 180, 240, 320, 400, 800, finishing at 1200 again. Remember to adjust the speed of the sander as your moving through the grades of paper to achieve the best results.
Once all the surfaces were sanded to 1200, I applied the first coat of oil to the first side of all the pieces. My preferred method of application is to wipe the oil on using a pad made from a soft cotton cloth. I find that get virtually no drips and a more even coverage.
The pieces were left for 24 hours to dry, then flipped over and the reverse sides were given there first coats.
After another 24 hours drying time I put a piece of 1500 grit paper on my ETS sander and with the speed on 1, sanded all surfaces in preparation for the 2nd coat. I always have a paintbrush handy to dash away the excess dust created by the fine sanding.
The next step is to apply the second coat of oil following the same process that was used when applying the first coat.
It’s important that you sand between coats to give the new coat the best chance possible to stick to the previous coat. Be sure to remove the excess dust before application of the new coat.
As I said earlier, the Hayes tung oil has a lot of polymers in it which can give the surface quite a high gloss. This was a bit shiny for me so once all the surfaces had at least 72 hrs drying time I cut the finish back with 1500 grit paper, then burnished the surfaces with a brown paper bag places between the sander and the workpiece. This may sound a bit odd, but trust me, it gives the finish a really nice luster.
If your going to use this technique, just remember not to exceed speed 1 on your sander.
When completed this wall unit will get fairly regular use so for maximum protection I gave all of the woodwork four coats of the tung oil.
Anyway, that’s all for today so keep on woodworking. If you end up using this technique, drop me an email or better still, send me a photo and I’ll put it up on the site so we can all see how you got on.
As usual, your comments and emails are appreciated.
Cheers
Bryan

Leave a comment